
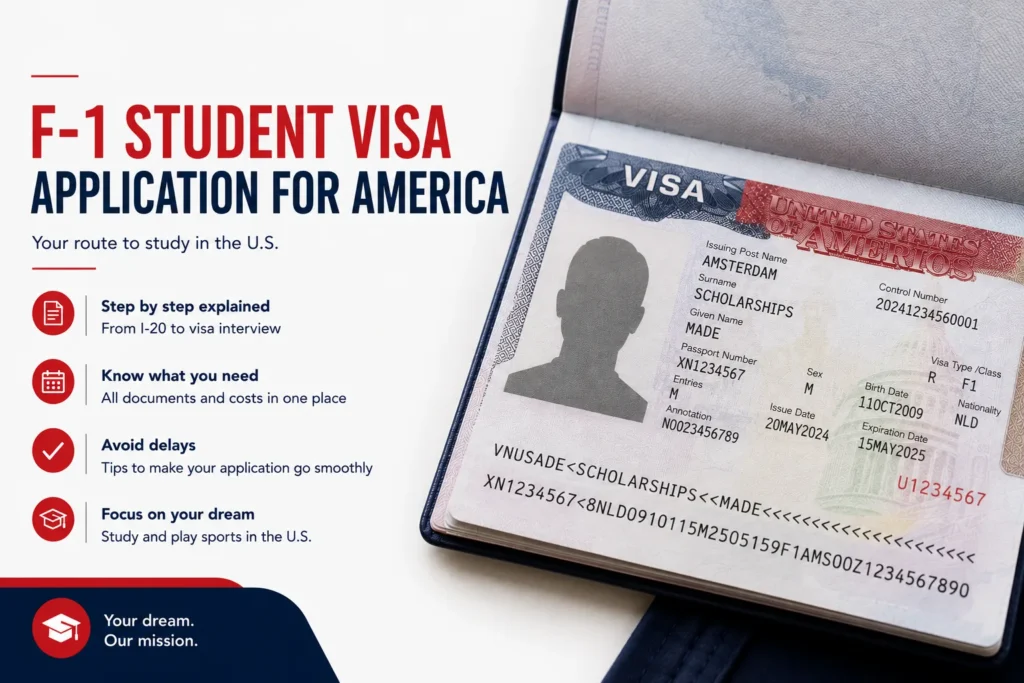
Congratulations! You have been officially admitted to a US college or university, and your athletic scholarship is secured. Before you can pack your bags and head to the United States, you will need to apply for your F-1 student visa. While government portals involve several forms, payments, and required documents, the application process is straightforward once you follow the correct sequence. If you're working with Made Scholarships, you won't have to navigate the process on your own. As soon as your college or university issues your Form I-20, we'll send you a detailed step-by-step guide with practical tips, screenshots, and a complete checklist of everything you'll need. And of course, we're here to answer any questions along the way. Getting ready for your move to the United States? Be sure to read our guides on preparing for your move to the US and our complete packing list for student-athletes to make sure you're fully prepared before departure.
Receive your Form I-20
Before you can apply for an F-1 visa, your college or university must issue your Form I-20 through the Student and Exchange Visitor Information System (SEVIS).
Your university will only issue the I-20 after:
- You have been officially admitted to the institution;
- You have submitted proof of sufficient financial resources (such as bank statements and/or your signed scholarship agreement).
Check your I-20 carefully
Before moving on to the visa application, verify the following on your document:
- Your SEVIS ID (starts with the letter N) is listed in the upper-right corner.
- Your name, date of birth, and passport details match your official documents exactly.
- Your Program Start Date is correct.
- The listed financial coverage matches your scholarship agreement.
- You sign and date page 1 using blue or black ink.
⚠️ Notice an error? Ask your university to issue a corrected Form I-20 before proceeding with your visa application.
Overview of the application process
Applying for an F-1 student visa consists of eight sequential steps:
- Complete the DS-160 application
- Create an account in the US visa portal
- Pay the visa application fee (MRV fee)
- Schedule your embassy appointment (if required)
- Pay the SEVIS I-901 fee
- Prepare all required documents
- Wait for your visa decision and passport return
Step 1: Complete the DS-160 application
Your official visa application begins with the online DS-160 form on the CEAC Website (ceac.state.gov/genniv).
During the application you will provide:
- Personal details and contact information;
- Passport details;
- University and SEVIS information;
- Travel plans and background details;
- A digital passport photo.
💡 Crucial Tip (AA Number):
As soon as you start your application, write down the Application ID (AA number) shown in the upper-right corner. If your web session expires or your browser crashes, you can log back in using this AA number and your security question without having to start over.
Passport photo requirements
Your digital passport photo must:
- Measure exactly 2 x 2 inches (5 x 5 cm);
- Feature a plain white background;
- Be taken within the last six months;
- Meet official US visa photo requirements.
We strongly recommend visiting a professional photographer and explicitly stating that the photo is for a US visa application. Self-portraits using online cropping tools frequently lead to rejection at the embassy.
After submitting the DS-160 form, save and print the DS-160 Confirmation Page featuring the barcode and your photo.
Step 2: Create your visa portal account
After completing the DS-160, create an account in the official US visa appointment portal for your applying country (e.g., usvisaappt.com).
You will enter:
- Your passport details;
- Your DS-160 confirmation number (AA number);
- Your SEVIS ID (N-number);
- Your university details and preferred passport delivery address.
Step 3: Pay the visa application fee
Before you can schedule an appointment, you must pay the mandatory Machine Readable Visa (MRV) application fee ($185) using the payment options in the visa portal. Paying by credit card ensures instant processing.
Once your payment is registered, the system automatically determines whether:
- You must attend an in-person interview at the US Embassy or Consulate; or
- You qualify for an Interview Waiver and can submit your documents by mail.
Step 4: Schedule your embassy appointment
If an interview is required, select an available date and time slot through the visa portal.
Do not panic if the earliest available appointment is after your program start date. Calendar slots fluctuate frequently during peak seasons.
If your regular appointment falls after your official start date, you can submit a request for an Expedited Appointment (Emergency Appointment) directly within the portal.
⚠️ Important rule for expedited requests: The US Embassy generally only approves expedited requests if the earliest regular appointment available falls after the Program Start Date listed on your Form I-20. Wanting to arrive early for athletic preseason, orientation days, or housing arrangements is not considered a valid reason for an expedited appointment by consular staff.
Step 5: Pay the SEVIS I-901 fee
In addition to the visa fee, every F-1 student must pay the federal SEVIS I-901 fee. This fee registers your record in the US government’s Student and Exchange Visitor Information System.
- Website: Pay online at fmjfee.com.
- Timing: Complete this payment at least 48 hours before your interview to allow system confirmation to register.
- Receipt: Print your SEVIS I-901 Payment Confirmation receipt immediately and keep it with your application documents.
Checklist: Documents you’ll need
Bring the following documents in an organized folder to your embassy interview (or mail them if eligible for an Interview Waiver):
- Valid passport (valid for at least six months beyond your stay, with at least one blank visa page);
- DS-160 Confirmation Page (with barcode and photo);
- Embassy appointment confirmation letter;
- Original signed Form I-20 (signed by both you and your university official);
- SEVIS I-901 payment receipt;
- 1 physical passport photo (2 x 2 inches / 5 x 5 cm, matching your uploaded photo);
- Proof of financial resources (bank statements and/or your scholarship agreement covering expenses listed on your I-20).
⚠️ Embassy Security Rules: Bring minimal personal belongings. Electronic devices—including laptops, tablets, smartwatches, earbuds, and large bags—are strictly prohibited inside the embassy. Mobile phones must be handed over to security upon entry.
After your interview
In most cases, consular officers inform you immediately whether your visa is approved.
If approved, the embassy will retain your passport to insert the physical F-1 visa foil. Processing typically takes 3 to 5 business days.
You can track your passport delivery status using the CEAC Visa Status Tracker. Once the status changes to “Issued”, your passport is on its way.
Need help with your F-1 student visa?
Every Made Scholarships student-athlete receives an exclusive visual step-by-step guide to make the visa process seamless.
If you are unsure about a specific question on a form or need guidance during your application, our team is here to help you get unstuck.
Have questions about your F-1 student visa? Contact the Made Scholarships team today!